Power to the People

This entire spring, I have been dealing with electrical power issues, of course, like usual, mostly self-imposed. My Kadey Krogen 42 is a really well designed, well-built boat, but for the nut behind the wheel, all would be perfect.

This is what’s been happening.

Batteries. My four Yuasa 8D Sealed Lead Acid batteries, bought in Ireland 4 years ago, are shot. Each battery is 225 amp-hours (AH) but are down to about 10 AH each! That means that once 40 AH are out of the entire bank, the voltage crashes to under 11 volts.

The battery that was replaced.

Last fall and again this winter, hoping it was just one battery gone bad, pulling the others down, I separated each battery, let them rest and then checked each voltage. Normally it’s a good sign that they were all within a couple of hundredths of a volt, but in this case, it just affirmed that the entire bank was shot.

My first solution was to get and install an Automatic Generator Start (AGS). I found a Magnum on Amazon. An AGS starts the generator automatically at a certain voltage, in this case 12.0 volts. Once this was up and running, at least I didn’t have to wake up every three hours, check the voltage, go back to sleep for an hour or two, then get up to turn off the generator.

The AGS Setup
The replacement cells

Now, the gen would come on automatically, run for the time I had set, in this case one hour. That would put enough charge back in the batteries for the next few hours.

The installation was relatively complicated because of my Westerbeke gen. It required using two additional relays (the AGS itself is essentially three relays).

About his time, somewhat unrelated to the batteries, I managed to short out my Heart Interface b y doing something really stupid.

We were connected to one 30-amp shore supply. To make life easier, I installed a jumper breaker switch so that I could power both circuits of the boat from the one source. It does mean we must manage our use, so if making hot water in the electric kettle, we must turn ff the water heater which itself uses 10 amps of 120 power.

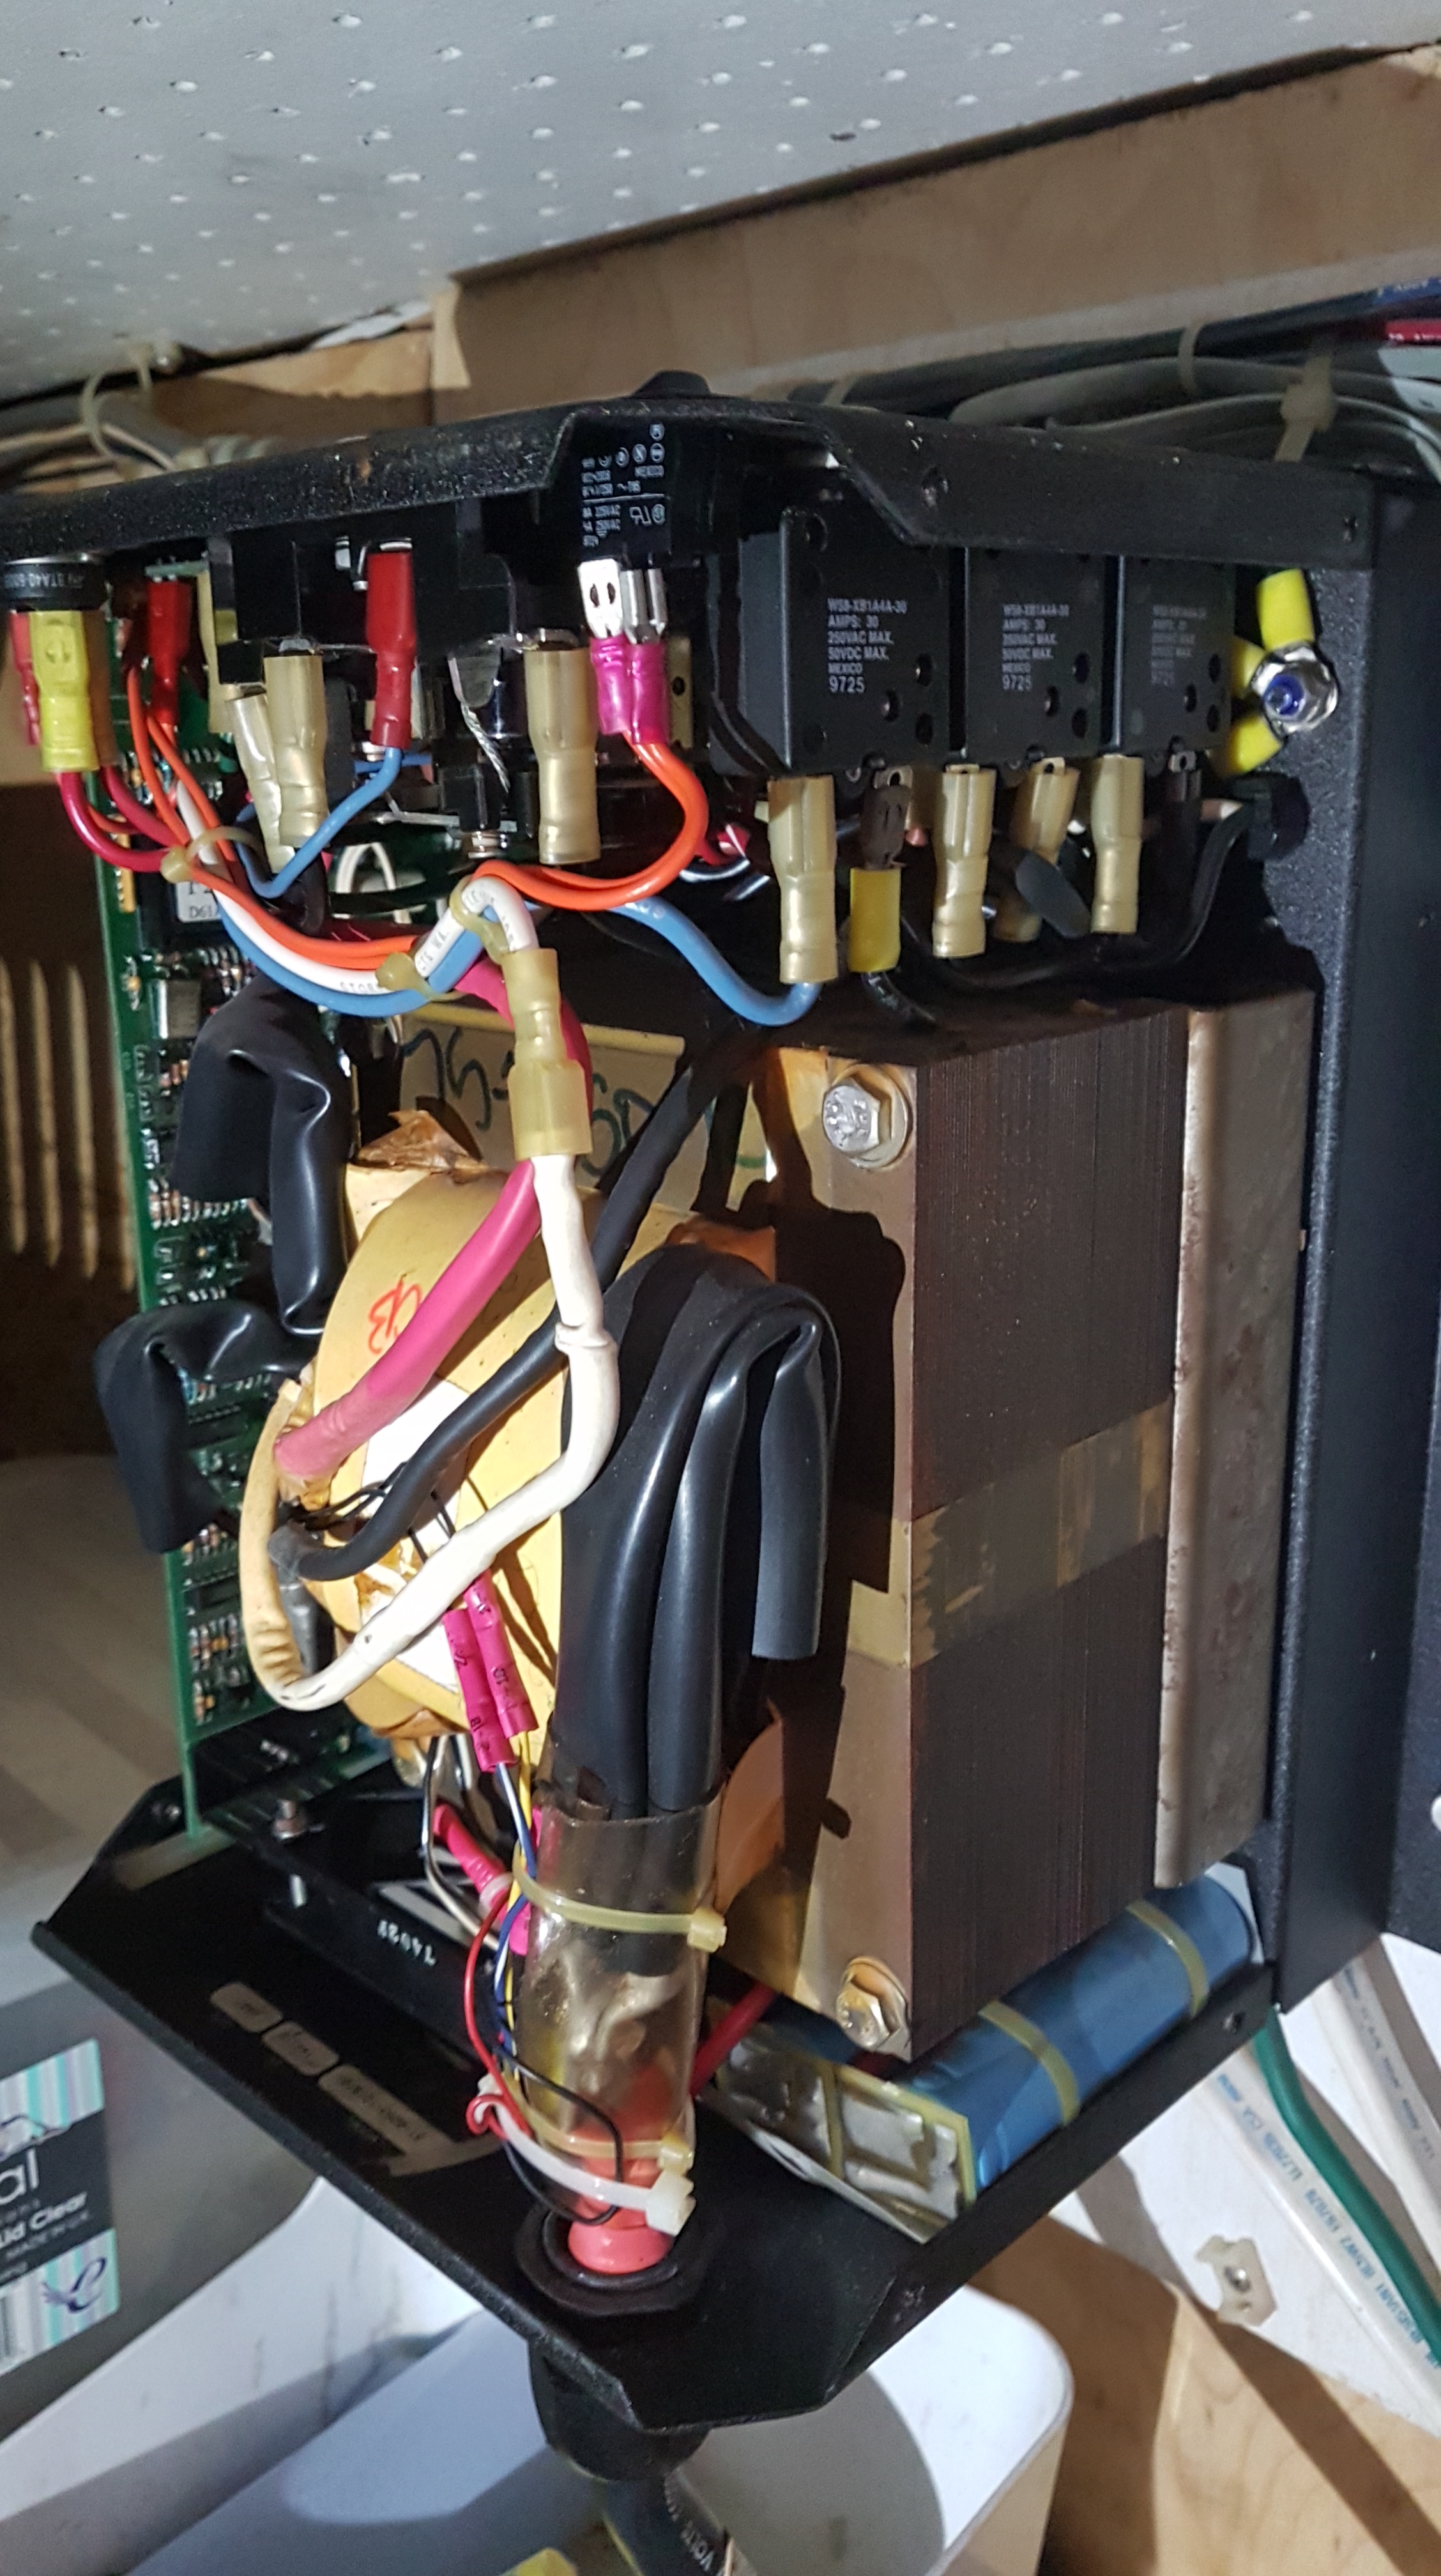
I managed to blow up two of the mosfets in the Heart inverter by forgetting to disconnect this jumper or disconnecting the shore power, when I went to start the generator.

So, I was also in the market for a replacement inverter. I wanted a pure sine wave inverter to be able to run by 120v heating pad on my bed.

I ended up deciding on MPP Solar Inverters, I got two 1,000-watt inverters that normally run in parallel and thus provide 2,000 watts as needed. I can also sun them singly, giving me back up if needed. Also integrated into each unit is an 80 A MPPT solar panel controller.

The Li battery is under the black rubber protective cover lower right. one od the older 8Ds is in middle. MPP Inverter/Chargers are on top.

On the battery side, I decided to try ONE LiFePO4 chemistry battery, that I would put together myself using four 3.2-volt cells (each 200 AH) and a Battery Management System (BMS). Total cost for the four cells, shipping and BMS was $600, though it took two months by boat from China to Seattle, then barge to Wrangell, Alaska.

The battery was relatively easy to set up. I’d spent much of the winter watching Will Prouses’s videos on YouTube and reading his forum.

Update: the link to one of his videos and forum. Will Prouse’s channel

From the forum, in the marine section, I found the solution to the issue of an abrupt battery shutdown by the BMS, possibly blowing up the diodes in the Alternator or Generator.

link to marine forum


The easiest solution seems to be to keep lead acid batteries in the system. So, in my case, I took out only one of the 8D’s and replaced it with the Lithium battery.

The naked battery before covering
This is how I got that 100 lb 8D out of the engine room, without breaking my back. I used the winch on the boom from the fly bridge.

The new setup has been operational since June and has worked well and as anticipated.

I had to set a user custom charging program for my Balmar ARS-5 regulator. I also added a temperature sensor for the regulator to know the temperature of the alternator. I set the bulk charging to 60 amps and 120 minutes at 14.2 volts. Absorption I set to the minimum 6 minutes and Float to 13.3 volts.

Works like a charm. If we are on the hook, 12 hours overnight uses about 110 to 150 AH. Once we get underway, the alternator will put 60 amps into the batteries for the first two hours, then go to Float.  LiFePO don’t like being kept fully charged, so the Float at 13.3 keeps them about 85 to 90% capacity while underway.

The MPP Inverter/charger works somewhat the same, but at least for now, though I did have to change the Bulk charging voltage from 14.2 to 14.6 volts to get it to go into Bulk charging if the batteries are at 50% since the voltage at 50% stays relatively high at around 13.00 v.

With this set up, now when out fishing for the day for days, we just run the generator for an hour or two in the morning and maybe one hour in early evening.

Next up, our summer fishing trip.


Advertisement

Maretron or Not

For a little, non-electronic boat, I sure love my Maretron data. I have 9 modules:

  • two to communicate with everything else, (USB, IPG) and the N2K Viewer
  • two for the fresh water tanks, (TLM),
  • one solid state compass, (SSC),
  • one GPS, (GPS),
  • one depth sounder with paddle wheel and lastly, (DST),
  • the love of my life, my (WSO), the weather instrument.

The solid sate compass seems to work better with my ComNav autopilot. In addition, it gives me the roll and pitch data I often quote in my blog.

The weather instrument is also solid state with ultrasonic wind measurement.  Considering I installed the system myself over 4 years and 20,000 miles ago, I’ve had few problems.

A glorious day in Vallejo, under a roof, with the mast down, facing aft

Coming west across the Atlantic, the constant winds behind us and to the side, from 15 to 35 knots for 528 hours or 22 days (No, I didn’t stop to change the oil) took a toll on my connections on the mast. Everything still worked, but occasionally, if a line got caught it would put enough strain to disrupt the connection until I freed it.

So, one of my projects now is to redo all the connections in the system. I  also now slather everything in dielectric grease. So much so, that I almost put it on my pancakes the other morning.

One of the offending connectors

So, the day started out so very well. Sitting on deck, with the mast down, Dauntless under a roof, protecting us from the elements and sun, I thought about climbing up the mast in Cabo San Lucas, in hot, 95° sun, holding on the mast with one hand, while trying to tighten the 5 little wires inside the plug just under the WSO.

I was in hog heaven. I carefully tool the plug apart, unattached the 5 little wires, and recut them all and trimmed them. Now, I knew power was still on the system.  Before I started any of this, I wanted to make sure that it was only the WSO that was incommunicado.  So, just as I was thinking that I would have to be careful in cutting the positive power line, meaning not to cut it with the ground wire at the SAME time; I did exactly that. The little spark, showed me that I’d f..ed up.

Sure enough, when I go below to check, now the whole Maretron system has no data.

Had I shorted out something serious? Was there a fuse in the system? If so, where was it?? Who the hell installed this system?? Oh, it was me!

Let me check the computer cabinet. Open cabinet and what do I see, the fuse block that I put in 4 years ago and even nicely labeled at that.

It went downhill from there.

To check the fuses, I had to pull them, to do that I needed to power down the whole system. That done, I pulled each fuse and looked at it very carefully. Very carefully (for those of you who already know the answer, don’t spoil it for your dear ones who are also reading this).

They all looked good. I powered the system back up. That takes a few minutes because the modem and router have to be booted up before the computer otherwise everyone gets confused.

At this point, I noticed that the little light for the Maretron circuit was not lit on the router until I turned on the computer. I hadn’t noticed that before. (and in the future, I will explain that issue).

No change. I went back to the fly bridge. One of dozens of trips I would make over the next couple of hours. I figured I had screwed up the wiring of the plug. I took it all apart again. I convinced myself that possibly the ground shield covering was touching one of the data lines. I put it all back together again, rebooted the entire system and alas. No joy.

At this point, I’d spent an hour on this. I pulled the fuses again. They still looked good. I even held them up to the light. But finally, just to be sure, I changed the 5-amp fuse that powered the Maretron system. Surely now, it would work.

Still No Joy. Now, more than ever I was convinced it was the plug. The plug was the only thing I had worked on.

Back to the flybridge. Took plug apart again. Put it back together again. Rinse and repeat.

I got my electric meter out (finally you think), check the plug for the umpteenth time. No power.

I go online and check the Maretron site. It tells me I should see 60 and 120 ohms between certain lines. I see exactly that. But still no power. I must have shorted something else out. Where did I install the power tap?

Oh, I remembered where the power tap was because it’s in the port side pilot house wire race that is so full of wires I have trouble getting the teak panel back in place.

Other than no power, the continuity on the plug and lines tested correctly.

I’ve been working on this for three hours now. I return to the computer and fuse block.

I finally decide to test for power in the fuse block. Umm, the Maretron circuit has no power here.

I pull that fuse and check it. No circuit. I check the old fuse I had pulled out, no circuit.

I got fuse number three and checked it, a circuit.

I stick it in and low and behold, power.

Two hours earlier I had replaced a bad fuse with another bad fuse. Both fuses showed no sign that they were open. Both had very clear “Z” wire that wasn’t broken.

One of the offending fuses


Hundreds of Males, Too Few Females.

I was looking forward to this project, as I like working on the electrical things and I just wanted to also tidy up the wires and the things I’d done over the last couple of years.

I needed to put new female spade connectors on the gauges and switches in the forward head. I also needed to replace the little bilge pump and replace the float switch for the big Rule 200 bilge pump in the forward bilge.

Cleaning up my cabin. This fuse and terminal block is for the forward head and bilge. The Raritan black box is for the old ElectroScan that I replaced with a Purisan.. This was the easy part. I had no corrosion here.

So, I get my two trays of electric connectors, with hundreds of pieces and what do I find: hundreds of males and a half dozen  females.  Sociologists warn of impending disaster when the male to female numbers reach 52% to 48% respectively in society. Because those single males unable to find mates wreak havoc on the society.

All those rogue elephants in Africa, male. Nuff said.

Female spade connectors are needed to connect a wire to the switch or instrument. I need about a dozen just for the forward head. The current connections are all corroded considerably. I know why, but don’t think I’ll mention it, other than to say, my not wanting to throw anything away can be dangerous.

Amazon will deliver the females on Tuesday.

So, I could tackle the paravane bird holders. I’ve tried various things in the last 4 years. Some have been a bit more effective than others, but in the last weeks I’ve gotten tired of stepping over them on the side deck. With the paravane pole taken down, there is not way to secure them.

In normal use, even if I think I won’t need the paravane stabilizers, I will deploy the poles only.  This allows me to deploy the birds without having to go the flybridge again. So, I need a method to secure them, with or without the poles in place.

This has been an ongoing issue. Each half-assed system I make, breaks sooner rather than later.

My solution is very simple, net and won’t get in the way, in the narrow deck space. I must say, that I think my time in Vietnam has enabled me to see simpler solutions. The Vietnamese make do with whatever they have, which is fractions of what we Americans are accustomed to.

The New paravane bird holder, suing eye hooks and 1/16″ Amsteel. Another view
The New paravane bird holder, suing eye hooks and 1/16″ Amsteel

It’s a thrifty culture and probably what I need in my reduced earning years.

To that end, I have also really tried to limit my going out for dinner. Thus, my chicken and brussels sprouts for dinner today. Very good.

My plated dinner, chicken and Brussels sprouts.
My dinner cooking, chicken and Brussels sprouts


Two Types of Boaters

Two More Projects Down; 37 to Go

Now, there are two types of boaters.

There are those who have few parts, but they are well organized and whenever they need something, they always have just what they need. Best of all, they have very few extra pieces, everything being stored in a few 2-liter containers.

Then, there is the boater who every marine store, big box store and Amazon loves. They have literally hundreds if not thousands of parts: plumbing connectors, electrical wires of all sizes, butt connectors, spade connectors, every connector under the sun; except for the one they need.

All threaded NPT

I’m in the latter group.

So, my little, very little, dock filter project, took three days and 4 trips to Home Depot, Wal-Mart and Ace hardware. Why, you wonder with the plethora of things I already have on board?

An assortment of hose barbs and NPT connectors

Well, it’s like this. I have 100 feet of ½” clear braided nylon tubing. I also have about 25 feet of 3/8” of the same, as well as 50’ of 1 inch. The water filter I bought used ¾” fittings. I didn’t want to use ½ inch. I also needed ¾” NPT to Hose thread.  I had a nice variety and quaintly of stainless steel ¾” hose barbs to ¾” NPT, and many ½” barbs, but alas no ¾” tubing.

I will spare myself the embarrassment of the Rube Goldberg setup I made first, then second, finally third, but with too many connectors of different sizes, it was difficult to not have a joint leaking.

Finally, I bit the bullet and went back to HD for the umpteenth time and bought a ¾” NPT male/female water heater hose of two feet.

Thus, my dock water household filter was installed in a manner that I’m happy with. Even got a quick disconnect to work that I’ve been carrying around for 4 years. I also took the time to re-organize all my hose and pipe fittings.

Now as you look at the pictures, while it may seem relatively organized, I seem to have soooo many ¾” fittings for who knows what, since I have few ¾” anythings on board.

An assortment of Hose thread (top), hose to NPT and all NPT (middle) and hose barbs (bottom)

The dock water filter was certainly not a necessity, as I have gotten along fine without it for these 5 years. But I am on a self-imposed deadline, getting the stuff done that is at best superfluous and at worst a waste of money. For next year, with Trinh here, she’ll ask me how I managed all these years without it, not having a good answer, she’ll tell me to save my money.

I’ve already calculated that I will save $500 per month. I feel richer already.

I did have a much bigger and serious problem, that I have worked around, but had to be fixed.

My Heart Inverter/Charger has not been charging for the last few months. I could tap it and it would wake up and start to charge, but sometimes within minutes, sometimes within hours, it would revert to not charging.  So, I knew it was an internal relay problem. But I hate disconnecting it from the 930 amp-hours of batteries.

Also, I could work around it relatively easily, as I have another charger, a Neumar, that charges only, but will work on any voltage, which made the time in Europe very easy. It’s on circuit 1 and as you have read, in this marina, I only am connected to circuit 2.
When I left Dauntless in July, I left her connected to circuit 1 and therefore the Neumar was charging.
But now, being on the boat, circuit 2 is more convenient. I didn’t want to do another work around like I did for the washer and water heater. I needed the Heart Inverter/Charger to work as it is supposed to.

So, I depowered everything, turned off all external power and disconnected the batteries (at the 300-amp fuse). Open the Inverter case and sprayed a lot of contact cleaner on everything, especially the two sets of points that make up the charger relay.

I also tightened the female spade connections on the circuit breaker for the charger (on the upper right of the picture). They didn’t feel loose, but still, couldn’t hurt and a loose connection like that, while very simple, can cause havoc or worse.

I let it dry for an hour, re-connected everything and powered her up. This time, I didn’t have to tap it and it worked as it should. Battery voltage slowly worked its way up to 14.04 v and stayed there for a while as the amperage came down. But even after 24 hours, voltage was 13.78 v, while the amperage was still about + 4 amps.

49 hours later, the voltage as stabilized around 13.70 and the amps going into the batteries stays a little positive, even if it is only +0.4 amps.

Very happy. Now, when I leave the boat this winter, I will leave it on that inverter charger.

I also ate some great Korean food this past weekend, as I had a great day in San Jose with some wonderful Korean friends.

Korean food in San Jose


And I did go to Costco, since my 3000 feet of plastic wrap which as lasted me 5 years ran out yesterday. While at Costco I bought romaine lettuce, Brussel’s spouts and rack of lamb.

The new box and old box (with wood veneer)


Coming up next, a hundred males, only a few females; nothing good can come from that.

Plugging Away in Vallejo

Having dedicated these days to the three dozen items on my winter to-do checklist, I hardly have time to write this blog. So, I’ll just have to add this to the list.

So, I figured I’d make goal, nice and high,  like 25%.

My salon electrical panel

What? You were expecting 110%?

I’m not one of those super achievers who when they want to paint the engine room, they take everything out, like engine, genny and all that crap glued to the walls.  Eek. Even writing that sends chills down my spine.

I have done a few things on the list. Maybe more than a few. Of course, I had to write a review for the local donut place. Well, not so local, but good donuts are worth the time.

The back of the salon electrical panel. the breaker I had the problem getting the screw back in was near the top of the picture middle column.

This wonderful marina  with covered dock, only supplies me one 30-amp circuit. It quickly became tiresome for me to change the dock plug from one circuit to the other, when I want to turn on the water heater or Splendid washer-dryer. So, in consultation with that Krogen guru, Dave Arnold, who pointed out  a far simpler method to power those items from the circuit that they are not on, from what I had originally devised. I proceeded to put a simple jumper off the breaker in the salon two days ago.

But then today, in a sure sign of mission creep, I decided to idiot proof my little setup.

In normal times, I run either two 30-amp lines to the boat or one 50 amp to a splitter that makes it into two 30’s for the boat. My main charger/inverter is on circuit 2, with most of the primary everyday stuff in the boats like the outlets and salon A/C. On Circuit 1, are the step children: washer dryer, water heater, chargers two and three and forward A/C unit.

So here, the dock power is plugged into circuit 2. In it’s previous life, this Kadey Krogen used to be a heavy 120v user, almost everything except for the navigation lights, radio and radar were household 120v.

Dauntless was going to be a cruising boat, not a dock queen, so from the beginning, my goal was to reduce that 120V dependence. First to go were the Subzero fridge and freezer; then thanks to Amazon, all the lights and/or bulbs were replaced by 12v LEDs. Boat computer, LCD monitors (Samsung 24”, there is at least one particular model that will work on 12v and in fact, works to about 11.5 v) and everything else in the pilot house are 12 votls.

The only 120v items that remain are one salon wall light that also serves as a 120v power tell tale and the older appliances that are not sued that often and thus not efficient to change such as the Raritan water heater, the Splendide washer dryer combo, the two A/C units and the microwave. That’s it.

This is the first time in months, I’ve needed the 120v water heater, as it also uses engine coolant to heat the water. But it’s cold up here and that first night back, taking a cold shower was enough for me to decide I needed a better plan. Replacing the heating element had been on my list of things to do for a while, as measured in years. While in Cabo I realized the water, heater was not working on electrical power. But, since I was seldom stopped long enough for the water to get cold, I didn’t need it until now.

So, the first day back, it was number one project. Of course, I had to get an inch and a half socket, but once that was done, it was all done, and we were good to go

Except we weren’t. Still no hot water.

Get the electric meter, umm should have done this first, only to discover that the problem was the thermostat. Well, that was easily bypassed. Now for the first time in a long time I had electrically heated hot water. I just had to remember to turn off the breaker after an hour or so.

Now I had the problem of having to move the dock plug every time I wanted to make hot water. I don’t like messing with the dock plug. If I’m moving it once a day, that’s a sure way to have some other issues. I needed a better solution.

So, two days ago, I made a jumper from a non-used breaker on circuit 2 to the water heater breaker on circuit 1.

I now had power to the water heater from circuit 2. Life was good.

I always want to make it better though, even if that has often not served me very well. A primary reason I’ve had few careers in my life, especially in Education, where there are too many adults who like the system just the way it is, words and promises notwithstanding.

But obvious solutions are sometimes not as simple as it seems. Thus, today I spent a couple of hours just trying to get one little screw back into the breaker. It was one of those old, straight cut, very short screws that were popular in the 60’s.  I tried grease, even glue, to get it to stay on the tip of the screw driver. I had only taken it out because I wanted to disconnect the line that was there. I knew it was going to an outlet that is not used, but I wanted to make sure that if I had power to both circuits 1 & 2, that I would not be feeding power where it was unexpected.

I just thought it better to remove the second lead from the load side of the breaker. Now, the breaker has only one load, no matter what.  On the picture, it’s the second breaker in the middle column in the lower part.

After doing that, it was easy to also add a jumper for the washer dryer. Those breakers were on the outside column, about a million times easier to access and that only took a few minutes.

My new head water nozzle

My other little projects that were on the list was to add little water nozzles by each toilet.  It’s an eastern Asian thing and virtually every toilet in Vietnam has one, even the toilets that don’t have a commode. I also find it far more practical than a French bidet. Besides cleaning all sorts of things,  it can also be used to fight fires or water fights with mutinous crew!

What more can one ask for?

The Second head water nozzle

The Great Battery Caper

After months of planning, thinking and just plain fretting, the batteries are in and Dauntless is no longer acting like a one legged duck.

Another Gorgeous Sunset

How do one legged ducks act you wonder? Without the engine running or being plugged into shore power, we had only a few minutes’ worth of electrical power.

Two of the Four New Yuasa Batteries

And I’d go to sleep, not with visions of sugar plum faeries (or better yet, leggy milf’s) dancing in my head, but with pictures of wiring diagrams and this and that.

So, having found replacement batteries in Kilmore Quay’s Kehoe Marine last month, they got four Yuasa Cargo Deep Cycle GM batteries that were of 8-D size, with 230 amp-hours each for me. Weighing in at 55 kg, or 115 lbs. each and delivered to the Kehoe boys at New Ross Boat Yard (yes, of course they are related).

Waiting for high tide, when the dock was only a few feet above the floating pontoon, we got the batteries on to the boat without dropping them into the water.

Then, the hardest part physically, getting the old batteries out.  Perhaps with the knowledge that we could not hurt them, it took us less than an hour to get them out.

I then spent the next few hours re-configuring how the batteries were connected.  I essentially made a positive and negative stud that consolidated the all the connections before they went to the batteries.

My friend Ed had given me a new article about the optimum way to connect multiple batteries that was slightly superior to the way I had the older batteries connected.  I had had 8 new battery cables made, 2 for each battery, each 2.3 meters long (about 7 feet).  This allowed the four batteries to have the exact same length cable to each from the charging source.  By having the same cable lengths, the resistance should be equal and thus each battery should get exactly the same amount of charge.

That took a few hours, with a panicked call to Dave Arnold, the electrical guru (who else would be driving around an all-electric car for the 1980’s!).

His call reaffirmed the use of the existing terminal block and Perko switch that was used to switch the start to the house batteries if needed.

Finally, after 8 hours, I was ready for the new batteries.  I rigged an Amstel line around the hand railing to the pilot house, thus we could lower the batteries into the engine room and the only struggle was to pull them into place while lowering at the same time.

Two hours later, all was in place, hooked up and ready to go.

All the boat grounds go to a common terminal, then one large cable to the boat side of the Victron battery Monitor shunt.  Then one large cable to another terminal post which has all four negative battery cables.

Positives are similar, in that the inverter/charger, the positive from the alternator and the positive from the terminal block (which has a number of inputs from the isolators and thus indirect from the other battery chargers) go to a terminal post, then all 4 battery cables are attached.

In the next days/weeks, as I physically tie the lines and organize a bit more, I will make a new electrical diagram.

Now, according to my calculations, all the rest of the year should be downhill!